10-frame langstroth beehive plans pdf
The 10-frame Langstroth beehive is a traditional, efficient design featuring moveable frames, ideal for beekeeping․ It supports pollination, honey production, and is scalable for backyard or commercial use․
History and Development of the Langstroth Hive
The Langstroth hive was invented by Rev․ L․L․ Langstroth in 1851, revolutionizing beekeeping with its movable-frame design․ It improved upon earlier hives by allowing easier inspection and honey extraction․ Langstroth’s innovation was the first to incorporate standardized frames, ensuring bees could move freely while maintaining hive structure․ This design quickly became the global standard for beekeeping due to its efficiency and adaptability․ Over the years, the 10-frame version has remained popular, balancing hive space and manageability for beekeepers worldwide․
Importance of the 10-Frame Design in Modern Beekeeping
The 10-frame Langstroth hive is a cornerstone of modern beekeeping, offering efficiency and scalability․ Its design allows for better resource management, balancing space for brood and honey production․ Standardized frame sizes ensure compatibility with equipment, simplifying hive maintenance․ This system supports large-scale commercial operations and small backyard setups alike, making it versatile for beekeepers of all levels․ Its adaptability to various environments and purposes has solidified its place as a preferred choice in contemporary beekeeping practices․
Key Components of the 10-Frame Langstroth Beehive
The hive includes a bottom board, hive body, brood chamber, supers, frames, and inner and outer covers, each playing a crucial role in beekeeping functionality and efficiency․
Bottom Board and Hive Stand
The bottom board serves as the hive’s base, typically made from durable wood like pine or cedar, with a minimum thickness of 3/4 inch․ It features a sloped edge to prevent bees from propolizing the stand․ The hive stand elevates the hive, improving airflow and reducing moisture․ Together, these components provide a sturdy foundation, protect the hive from pests, and ensure proper hive functionality․ They are essential for maintaining a healthy colony and are often pre-drilled for easy assembly․ Proper alignment is crucial for the hive’s structural integrity and efficiency․
Hive Body and Brood Chamber
The hive body, typically constructed from durable wood, houses the brood chamber where the queen lays eggs․ It has internal dimensions of 20-1/4″ in length, 16-5/8″ in width, and 9-5/8″ in depth․ Designed to hold 10 frames, it allows ample space for the colony to grow․ Proper frame spacing (1 1/4″) prevents bees from gluing frames together․ This area is crucial for colony development and honeycomb storage, ensuring efficient hive management and honey production․ Precise measurements and sturdy materials are essential for its construction․
Supers and Frames
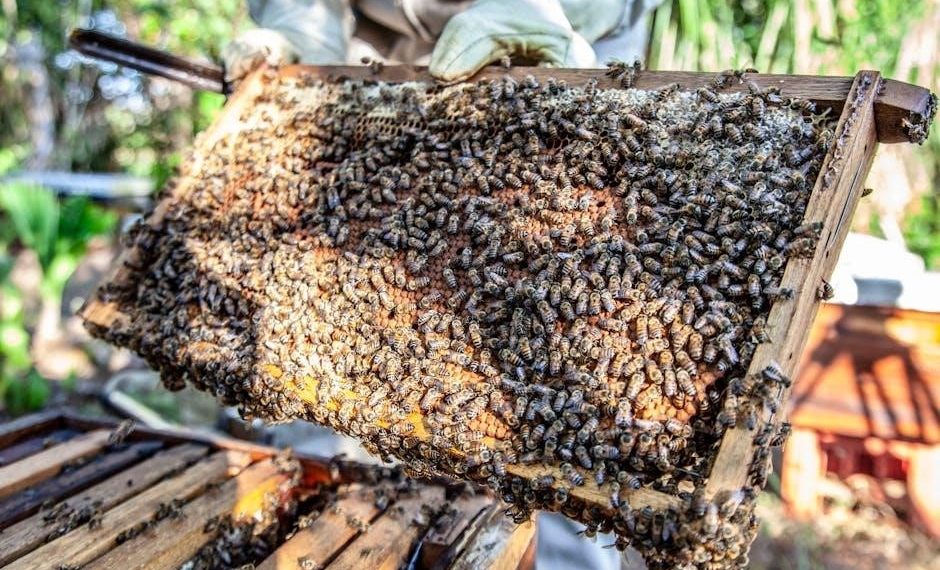
Supers are boxes placed above the hive body to store honey, while frames provide the structure for bees to build comb․ Supers come in deep, medium, or shallow depths, with deep supers typically used for brood․ Frames are spaced 1 1/4″ apart to prevent bees from sealing them together․ Standard Langstroth frames measure 19″ long and 6″ wide․ Frames are essential for organizing comb and ensuring proper hive functionality․ Durable materials like wood ensure longevity, while precise spacing supports healthy colony growth and efficient honey production․ Frames and supers are key components for successful beekeeping․
Inner and Outer Covers
The inner and outer covers protect the hive from environmental elements․ The outer cover shields the hive from rain and direct sunlight, while the inner cover helps regulate temperature and air circulation․ Both are typically made from durable wood, often with a waterproof coating․ The inner cover features a hole for bees to access the hive and may include a feeding channel․ Proper fitting ensures the hive remains secure and pest-free, safeguarding the colony and hive contents․ These covers are essential for maintaining hive health and stability․
Materials and Tools Required for Construction
High-quality wood like cedar, pine, or cypress is ideal for durability․ Tools include a table saw, drill, hammer, and measuring tape․ A 3/4″ thickness is recommended for frames and boxes․
Recommended Wood Types andThickness
Cedar, pine, and cypress are popular choices for beehive construction due to their durability and natural resistance to rot․ The minimum wood thickness should not be less than 3/4″ for frames and hive bodies․ Thicker wood ensures stability and longevity․ Avoid using pressure-treated wood to prevent harming the bees․ Properly seasoned wood is essential to minimize warping and ensure a secure fit for frames and supers․ These guidelines help maintain the structural integrity of the hive while protecting the health of the colony․
Essential Tools for Assembly
Building a 10-frame Langstroth beehive requires specific tools for precise assembly․ A circular saw or hand saw is needed for cutting wood to size, while a drill and bits are essential for creating holes and pilot holes․ Measuring tape, squares, and clamps ensure accuracy and alignment․ Sandpaper smoothes rough edges, and a hammer secures frames and components․ A hive frame jig can simplify frame assembly․ Safety glasses and gloves protect during construction․ These tools ensure a sturdy, well-fitted hive, crucial for bee health and productivity․ Proper preparation and precision are key to successful assembly;
Step-by-Step Assembly Guide
Begin by assembling the hive body, ensuring all components fit securely․ Install frames and foundation, then add supers for honey production․ Follow detailed plans carefully for accuracy and safety․
Preparing the Hive Components
Begin by cutting and sanding all wood pieces according to the PDF plans․ Ensure the hive body, supers, and frames are precisely measured․ Use 3/4-inch lumber for durability․ Assemble boxes, fitting frames securely․ Check for proper alignment and spacing between frames to maintain bee movement․ Sand all surfaces to prevent splinters․ Apply wood preservatives if desired, following safety guidelines․ Allow components to dry before proceeding; Refer to the plans for specific cutting diagrams and assembly instructions to ensure accuracy․
Assembling the Hive Body
Begin by aligning the hive body sides and back, ensuring proper fit․ Attach the bottom board securely using screws or nails․ Assemble the hive body boxes, making sure they are square and sturdy․ Use the 3/4-inch lumber for the sides and bottom, following the PDF plans for precise measurements․ Install the frame rests and handles, ensuring they are evenly spaced․ Attach the front and back panels, then secure the sides together․ Double-check the internal dimensions to ensure they match the 10-frame specifications․ Use wood glue and clamps to reinforce joints before final assembly․
Installing Frames and Supers
Place the frames inside the hive body, ensuring they are evenly spaced and aligned with the frame rests․ Secure the foundation to the frames using wire or staples․ Install the supers on top of the brood chamber, aligning them perfectly with the hive body․ Ensure proper frame spacing to prevent overcrowding and disease․ Use the provided PDF plans to confirm measurements and alignment․ Properly securing frames and supers ensures a healthy environment for the bees and efficient honey production․
Dimensions and Measurements
The 10-frame Langstroth hive features internal dimensions of 18-3/8″ x 14-3/4″ and a depth of 9-5/8″․ External measurements are slightly larger for proper fit and material thickness․
Internal and External Dimensions
The internal dimensions of a 10-frame Langstroth hive are typically 18-3/8″ in length, 14-3/4″ in width, and 9-5/8″ in depth․ Externally, the hive measures slightly larger to accommodate the walls and frame spacing․ These precise measurements ensure proper fit and functionality, allowing for efficient bee movement and honey production․ The design also accounts for the thickness of the materials used, such as wood, ensuring durability and weather resistance․ Proper alignment and spacing are critical for the hive’s structural integrity and the health of the bees․
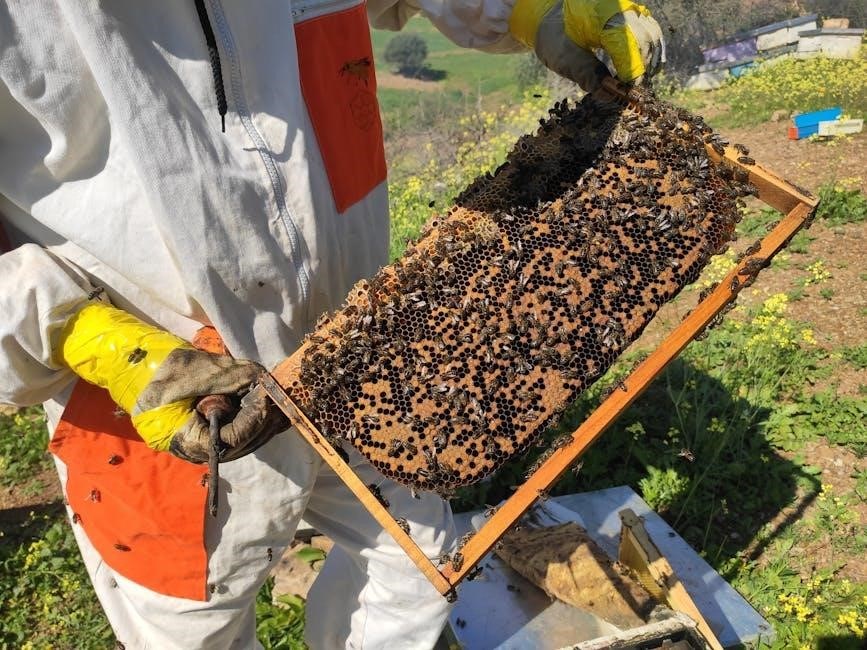
Frame Spacing and Alignment
Proper frame spacing and alignment are crucial for the health and productivity of the hive․ Frames are typically spaced 1 1/4 inches apart to prevent overcrowding and ensure adequate ventilation․ Alignment ensures that frames are evenly distributed, promoting proper bee movement and comb construction․ Misaligned frames can lead to structural issues and make hive management challenging․ Correct spacing also helps prevent disease and pests by allowing bees to maintain a clean environment․ Precise alignment is essential for the hive’s stability and the bees’ ability to thrive․
Safety Considerations and Best Practices
Always wear protective clothing, including a beekeeping suit and veil, to minimize stings․ Use a smoker to calm bees before handling the hive․ Handle frames gently to avoid disturbing the colony․ Regular inspections ensure hive health and prevent issues․ Maintain a clean environment to reduce disease risks․ Keep emergency equipment nearby, such as epinephrine auto-injectors, in case of severe allergic reactions․ Educate yourself on local beekeeping regulations and best practices for sustainable beekeeping․
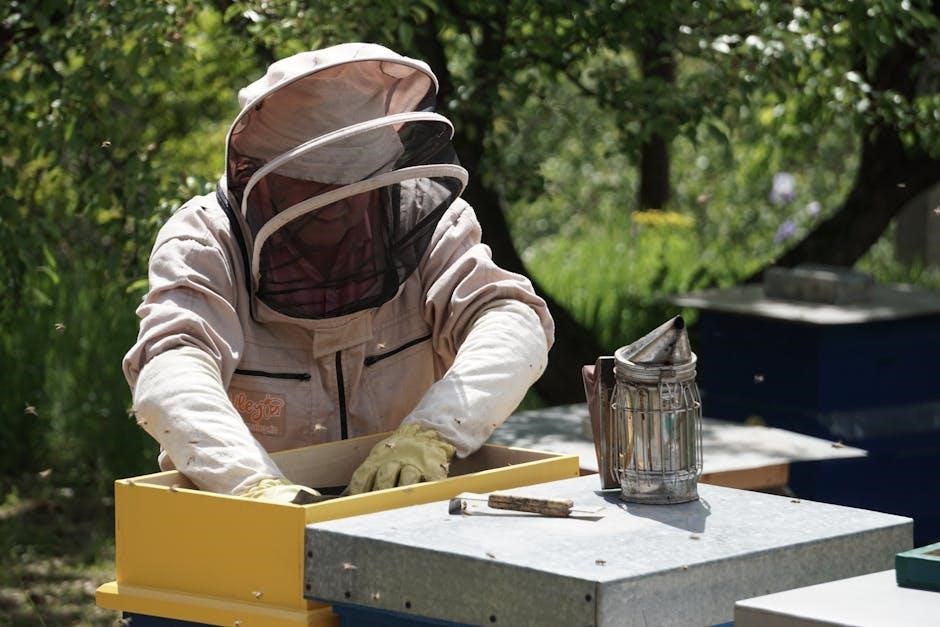
Protective Equipment for Beekeepers
Protective clothing is essential for safe beekeeping․ A beekeeping suit with a veil protects the face and neck from stings․ Gloves prevent hand stings, while sturdy boots shield feet․ A smoker calms bees by producing smoke, reducing aggression․ Always wear proper attire when handling the hive․ Ensure equipment fits well to avoid gaps where bees can enter․ High-quality protective gear is a crucial investment for any beekeeper․ Regularly inspect equipment for damage or wear to maintain effectiveness․ Proper protection ensures a safer, more enjoyable beekeeping experience․
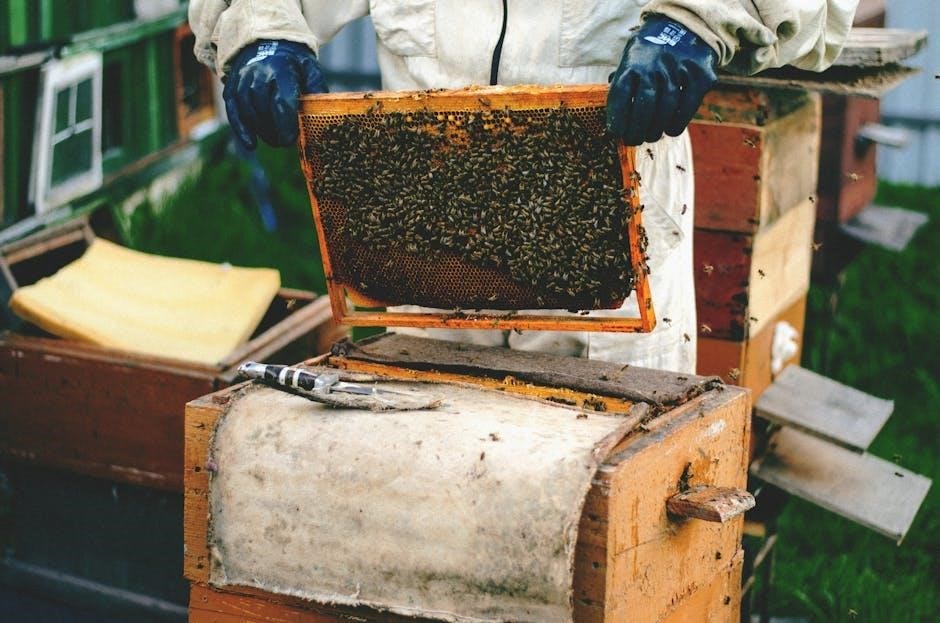
Safe Handling of Bees and Hive Components
Always approach the hive calmly and move slowly to avoid provoking the bees․ Use smoke to pacify them before opening the hive․ When handling frames, gently pry them open with a hive tool and avoid crushing bees․ Inspect frames carefully, ensuring not to disturb the brood or honeycombs excessively․ Handle the queen with care to prevent stressing the colony․ Close the hive securely after inspections to protect it from pests․ Be mindful of weather conditions and avoid handling bees in extreme heat or cold․ Regularly monitor for signs of disease or pests to maintain hive health․
Downloading and Using the PDF Plans
Access reliable PDF plans from sources like Beesource․com or USDA for detailed instructions․ Download plans for 10-frame Langstroth hives, including Barry Birkey’s designs․ Ensure the plans include both imperial and metric measurements for accuracy․ Review the layout and instructions carefully before starting construction․ Print or save the PDF for easy reference during assembly․ Verify the plan’s compatibility with your tools and materials․ Use the plans to build a durable, standard-sized Langstroth hive for optimal beekeeping․
Accessing Reliable PDF Sources
Reliable PDF plans for 10-frame Langstroth beekeeping equipment can be found on trusted websites like Beesource․com or USDA resources․ These sources provide detailed, downloadable plans, including Barry Birkey’s 10-frame Langstroth beehive design․ Ensure the plans are free and compatible with your tools and materials․ Look for PDFs that include both imperial and metric measurements for universal use․ Verify the source’s credibility to avoid incomplete or inaccurate designs․ Download plans directly from reputable platforms to ensure quality and safety standards are met․
Understanding the Plan Layout and Instructions
PDF plans for the 10-frame Langstroth beehive typically include detailed diagrams and step-by-step instructions․ They outline precise measurements, material requirements, and assembly procedures․ Key components like hive body dimensions, frame spacing, and cover designs are clearly specified․ Many plans also provide cutting lists and assembly tips to ensure accuracy․ Look for plans that include both imperial and metric measurements for universal applicability․ Carefully review the instructions to understand the sequence of assembly and any specific tools or techniques required for a successful build․
Building a 10-frame Langstroth beehive is a rewarding project for beekeeping enthusiasts․ Ensure all components are crafted with precision using durable materials․ Always follow safety guidelines and best practices when handling bees and hive equipment․ Regular maintenance and inspections are crucial for the health of the colony․ Consider local regulations and environmental conditions when placing the hive․ With patience and attention to detail, your beehive will thrive, providing a sustainable source of honey and supporting pollination efforts in your area․